


Before attempting any Tesla front trunk repair, assess damage (dents, cracks, scratches) and gather a toolkit with precision screwdrivers, hammer, pry bar, safety gear, and potential auto painting supplies for complex issues. Accurately identify problems like rust or sealing issues through cleaning. A well-prepared toolkit simplifies the process and showcases commitment to quality bodywork, whether DIY or professional assistance is chosen.
Learn how to tackle a common Tesla owner dilemma—front trunk repairs—right from your home garage. This comprehensive guide breaks down the process step-by-step, ensuring you’re prepared with the right tools and knowledge. First, assess the issue and gather essential parts. Then, master the art of safe demolition, exposing the intricate trunk mechanism. Finally, follow a detailed repair process, testing each step for seamless functionality. Equip yourself to perform a Tesla front trunk repair with confidence and save on costly dealership visits.
- Assess the Issue and Gather Tools
- – Identifying the problem with your Tesla's front trunk
- – Creating a repair toolkit
Assess the Issue and Gather Tools

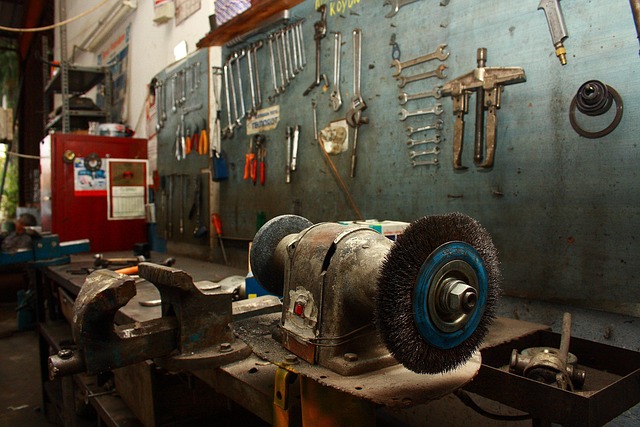
Before diving into any Tesla front trunk repair, it’s crucial to assess the issue thoroughly. Start by inspecting the damaged area closely and identifying the extent of the problem—is it a deep dent, a crack, or simply a minor scratch? This step is key as it determines the approach for your DIY repair. Gather all necessary tools tailored for such repairs, including a set of precision screwdrivers, hammer, pry bar (for removing panels if needed), and appropriate safety gear like gloves and goggles.
For Tesla front trunk repair, consider having a few essential items on hand to handle potential complications. While some minor repairs can be achieved with simple tools, more complex issues might require access to auto painting supplies or even body shop services for professional-grade results. Remember, a well-prepared toolkit ensures your DIY project goes smoothly, saving you both time and money.
– Identifying the problem with your Tesla's front trunk
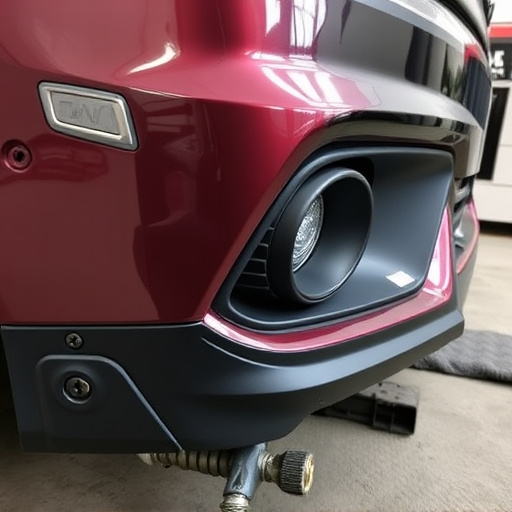
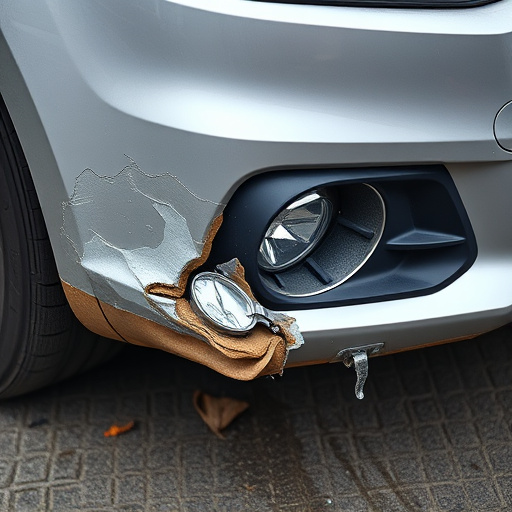
If your Tesla’s front trunk is showing signs of damage, denting, or rusting, it might be time to consider a front trunk repair. The first step in performing this repair at home is identifying the issue accurately. Inspect the front trunk for any visible dents, cracks, or corrosion. These issues can arise from various factors such as minor collisions, exposure to harsh weather conditions, or simply normal wear and tear.
In some cases, a thorough cleaning might reveal underlying problems like poor sealing or water damage, which could require additional auto detailing or even vehicle paint repair techniques. If you’re not sure where to start, comparing your Tesla’s front trunk with online images of known issues can help pinpoint the problem. For more complex repairs, consider whether a DIY approach is suitable or if it’s best to visit a collision repair shop for professional assistance.
– Creating a repair toolkit
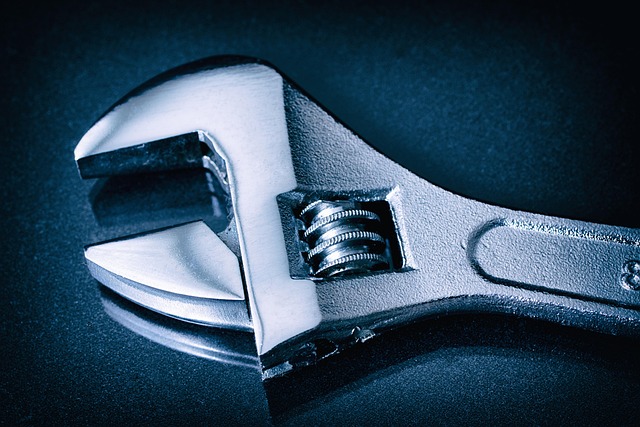
Before tackling any Tesla front trunk repair, assembling a comprehensive toolkit is the first step. This should include basic tools like wrenches, screwdrivers (both flathead and Phillips), pliers, and a set of socket sets tailored to your vehicle’s specific needs. For more intricate tasks, consider adding a hammer, metal file, and a heat gun for plastic welding or softening. Ensure your toolkit also has the necessary replacement parts, such as hinges, seals, and any other components that may need replacing.
A well-equipped toolkit not only streamlines the repair process but also reflects your commitment to meticulous auto bodywork. Remember, whether you’re an experienced DIYer or new to collision repair services, having the right tools can significantly impact the outcome of your Tesla front trunk repair project.
Performing a Tesla front trunk repair at home is achievable with the right tools and knowledge. By identifying the specific issue and gathering a well-equipped toolkit, you can efficiently address common problems. Remember, a systematic approach and attention to detail are key to ensuring a successful DIY repair, saving you time and costs while keeping your Tesla in top shape. For minor issues, this guide empowers you to take control; for more complex repairs, consider seeking professional assistance. Either way, staying proactive with maintenance is the best strategy for keeping your Tesla running smoothly.