


Tesla owners face front trunk issues from cosmetic damage to structural problems. While DIY repairs are possible for minor cases, severe damages require professional automotive body shop expertise. Before attempting any Tesla front trunk repair, assemble a kit with essential tools and match-color paint. Safety, preparation, and detail-oriented work are crucial; assess damage, clean the area, and use appropriate gear. For complex dents, seek professional auto dent repair services for optimal restoration.
Tesla owners often face the challenge of a faulty front trunk, leading to a need for efficient DIY repairs. This article guides you through the process with an emphasis on best practices and effective techniques. We’ll first discuss common issues affecting your Tesla’s front trunk, followed by a detailed overview of essential tools and materials required for the repair. Then, we provide a step-by-step guide ensuring a successful restoration. Learn the secrets to tackling this project like a pro with our comprehensive DIY Tesla front trunk repair techniques.
- Understanding Common Tesla Front Trunk Issues
- Essential Tools and Materials for Repair
- Step-by-Step Guide to Effective Front Trunk Restoration
Understanding Common Tesla Front Trunk Issues

Many Tesla owners often find themselves dealing with front trunk issues, which can range from simple cosmetic problems to more complex structural damages. Common problems include dents, scratches, and cracks on the exterior panel due to impact or accidental collisions. Over time, the sealants and coatings may weaken, leading to rust spots and corrosion, especially in regions with harsh weather conditions. Some owners might also experience functional issues like a stuck or misaligned trunk lid, requiring precise adjustments. These challenges can significantly impact the vehicle’s aesthetics and safety, emphasizing the need for efficient Tesla front trunk repair techniques.
While some minor repairs can be addressed by the owner themselves using DIY methods, more severe cases may necessitate the expertise of an automotive body shop, particularly for auto frame repair and restoration. Auto body services that specialize in Tesla models are equipped with the right tools and training to handle intricate panel replacements, ensuring the vehicle’s structural integrity and restoring its original condition.
Essential Tools and Materials for Repair

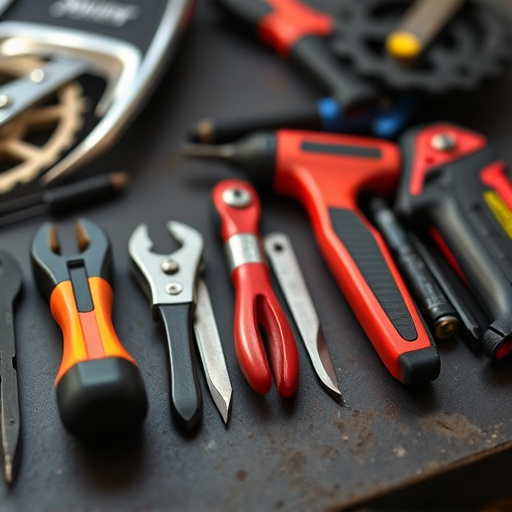
Before tackling any Tesla front trunk repair, ensure you have the right tools and materials on hand to achieve a professional-grade result. For this task, you’ll need a selection of essential tools including a set of high-quality screwdrivers (both flathead and Phillips), a metal file or sandpaper, and a putty knife for applying filler. Additionally, gather the necessary materials such as body fill compound, primer, and paint that match your Tesla’s exact color.
Automotive collision repair requires precision, so invest in tools designed to make intricate cuts and smooth surfaces. Professional car paint services often recommend using top-of-the-line products to ensure long-lasting durability and a seamless finish. Remember, proper preparation is key; cleaning the affected area thoroughly before beginning any repairs will result in a more effective and lasting repair job.
Step-by-Step Guide to Effective Front Trunk Restoration

Restoring your Tesla’s front trunk involves a meticulous process that can bring it back to its original condition. Here’s a step-by-step guide to help you effectively tackle this repair project:
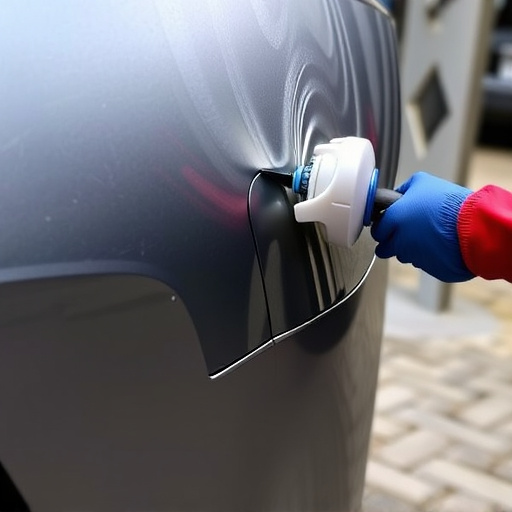
1. Safety First: Begin by ensuring the safety of yourself and your workspace. Don protective gear, including gloves and goggles, as you’ll be handling materials and chemicals. Isolate the area to prevent any accidents or damage to surrounding surfaces.
2. Inspect and Prepare: Carefully examine the front trunk for dents, scratches, or any signs of damage. Remove loose debris using a soft brush. If there are deep dents, consider seeking professional auto dent repair services as they have specialized tools for complex repairs. For minor dings and scratches, prepare the surface by gently sanding with fine-grit sandpaper to create a smooth base.
Whether you’re a Tesla owner dealing with a damaged front trunk or simply interested in DIY repairs, understanding the process and utilizing the right techniques can save you time and money. By equipping yourself with the necessary tools and following the step-by-step guide outlined in this article, you’ll be well on your way to successfully repairing your Tesla’s front trunk. Armed with knowledge and the right approach, remember that tackling DIY repairs like these can empower you to maintain and enhance your vehicle’s performance.