


Tesla front trunk (frunk) issues are common, ranging from sticky seals to structural damage. Initial diagnosis involves visual inspection and tool testing. Repairs vary from lubricating hinges to complete lid replacements, emphasizing professional services and high-quality parts for optimal Tesla frunk functionality.
Experience a frustrating Tesla front trunk issue? You’re not alone. Common problems range from persistent leaks to difficult opening mechanisms. This comprehensive guide delves into diagnosing and repairing your Tesla’s front trunk, focusing on practical steps and tools for DIYers or guiding you towards professional assistance. By understanding the root causes behind these issues, you’ll equip yourself with the knowledge for effective Tesla front trunk repair.
- Understanding Common Tesla Front Trunk Issues
- Diagnosing the Problem: Steps and Tools
- Repair Process: Replacement and Troubleshooting Tips
Understanding Common Tesla Front Trunk Issues

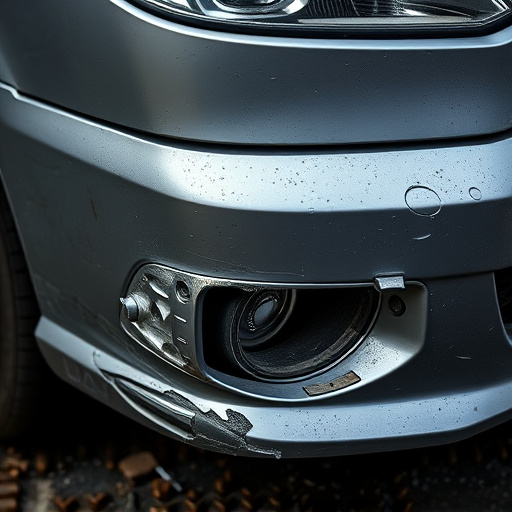
Tesla owners often encounter issues with their front trunk (or frunk), which can be a frustrating experience. Common problems include difficulty opening or closing the lid, a sticky or loose seal, and even structural damage that affects the overall stability of the trunk. These problems may arise due to various factors such as weather exposure, regular use, or manufacturing defects.
When dealing with Tesla front trunk repair, it’s essential to identify the root cause of the issue. Some simple fixes might include lubricating the hinges or replacing worn-out seals, while more complex repairs may involve structural reinforcement or even a complete lid replacement. If you’re considering auto repair near me for your Tesla, trust a reputable car body shop with experience in electric vehicle repairs. They can provide expert collision damage repair services tailored to your Tesla’s unique needs, ensuring your front trunk functions optimally once again.
Diagnosing the Problem: Steps and Tools
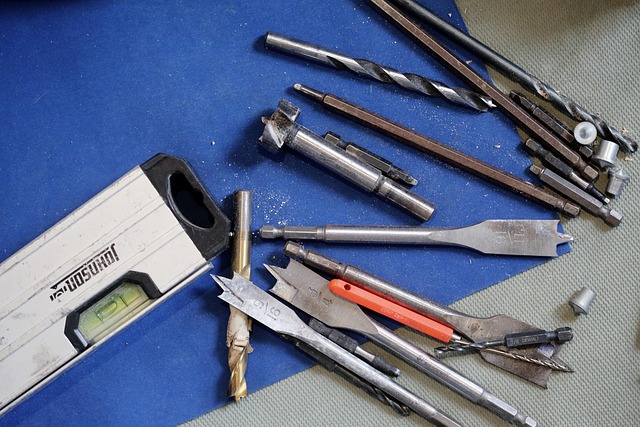
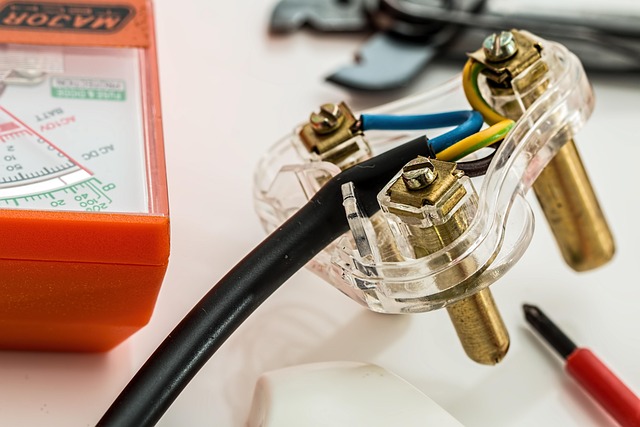
Diagnosing the problem involves a systematic approach to pinpointing the root cause of your Tesla’s front trunk issues. Start by inspecting the lid for any visible signs, such as dents, scratches, or misalignments. Utilize a flashlight and a detailed mirror to examine hard-to-reach areas. Check for loose or damaged hinges, which could indicate a mechanical failure. Next, use a multimeter to test the electrical components, ensuring sensors and wires are functioning correctly, especially if the trunk won’t open or close automatically.
Gather essential tools like torque wrenches, screwdrivers (both flathead and Phillips), and a set of pliers. These will aid in disassembling the lid and accessing internal components. For more complex issues, consider professional assistance or consulting Tesla’s repair manuals. Remember, proper diagnosis is key to successfully repairing your Tesla front trunk and ensuring it operates smoothly for years to come. Effective solutions could range from simple adjustments to extensive repairs, depending on the severity of the problem.
Repair Process: Replacement and Troubleshooting Tips
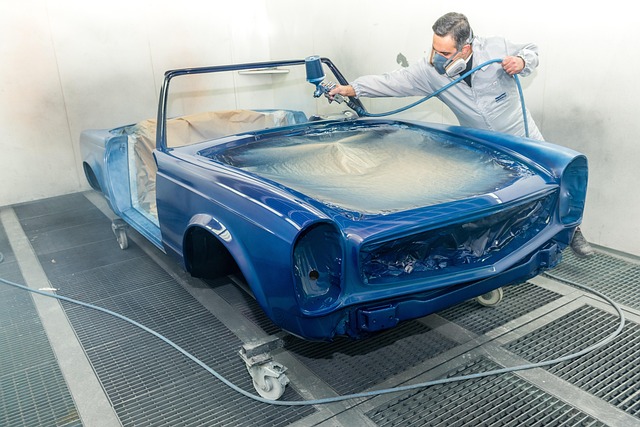
Tesla front trunk repairs are often required due to various lid issues that can arise over time. The process typically involves replacement, as damaged or malfunctioning lids cannot be easily fixed with simple adjustments. First, identify the specific problem—is it a broken seal, a misaligned lid, or a completely detached trunk? For minor misalignments, using specialized tools to adjust the hinges can restore functionality. However, for more severe issues, such as a detached trunk or a damaged bumper (common in luxury vehicle repairs), a complete replacement is usually necessary.
When embarking on a Tesla front trunk repair, ensure you have the right replacement parts—high-quality components that fit seamlessly with your vehicle’s design and engineering. The process requires careful handling due to the precision involved. Many owners opt for professional vehicle restoration services to guarantee optimal results, especially given the high value of these luxury vehicles. Troubleshooting tips include checking for loose connections, inspecting weather seals for damage or wear, and verifying proper alignment using a trunk lift tool to gauge tension.
Whether you’re experiencing a sticky lid, persistent leaks, or a completely unresponsive front trunk in your Tesla, understanding the common issues and the simple steps outlined in this guide can empower you to perform an effective Tesla front trunk repair. By familiarizing yourself with diagnosis and repair processes, you’ll be well-equipped to tackle these problems head-on, ensuring a secure and reliable vehicle for years to come. For minor inconveniences or more complex repairs, remember that professional assistance is always available to serve your Tesla’s maintenance needs.