


Before Tesla front trunk repair, inspect for dents and cracks using flashlight and take photos. Gather tailored tools including hand tools and filler. For significant damage, consider professional services with specialized equipment. Follow step-by-step guide for disengaging latch, removing debris, inspecting, cleaning, installing new latch, and tightening bolts with torque wrench. Alternatively, seek expert car body restoration for optimal Tesla front trunk repair results.
Looking to fix your Tesla’s front trunk with a minimal toolset? This comprehensive guide is tailored for DIY enthusiasts and car owners alike. Discover the essential steps to assess damage and determine if a repair is feasible. Learn about the tools required—surprisingly few for this task. Then, follow our step-by-step process, making your Tesla front trunk repair simple, efficient, and cost-effective.
- Assessing the Damage: Steps Before Repair
- Tools Required: Minimalist Approach
- Step-by-Step Guide: Fixing Your Tesla's Front Trunk
Assessing the Damage: Steps Before Repair

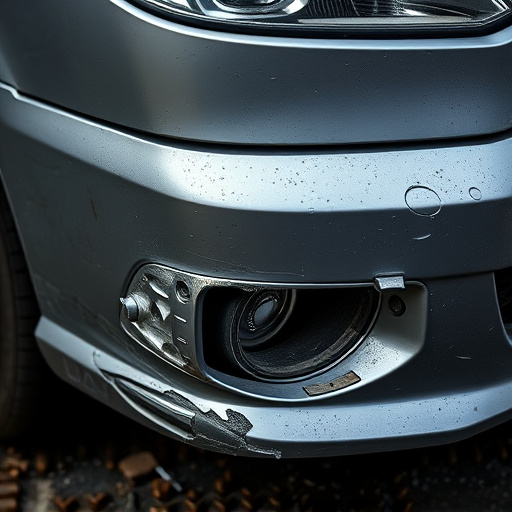
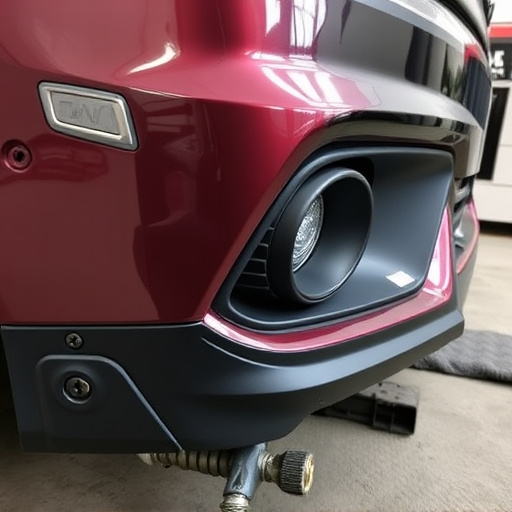
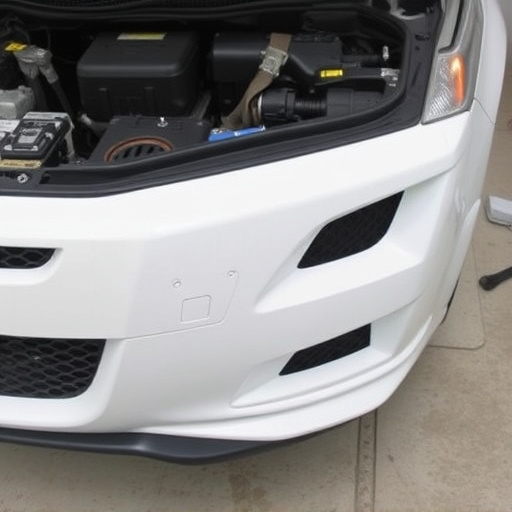
Before diving into a Tesla front trunk repair, it’s crucial to assess the damage accurately. Start by inspecting the trunk for any visible signs of dents, cracks, or other structural issues. Use a flashlight if necessary to peer into hard-to-reach areas and ensure you have a comprehensive understanding of the extent of the damage. Take photos as a reference point—this will not only aid in your repair process but also be helpful when comparing before-and-after results, especially for auto repair near me services.
Next, gather any tools required, focusing on those that are minimal and suitable for car body restoration tasks. Depending on the severity of the damage, you might need a set of pliers, a hammer, putty knives, and some high-quality filler. For more substantial dents or cracks, consider seeking professional assistance as they have specialized equipment for dent repair, ensuring a precise Tesla front trunk repair job.
Tools Required: Minimalist Approach

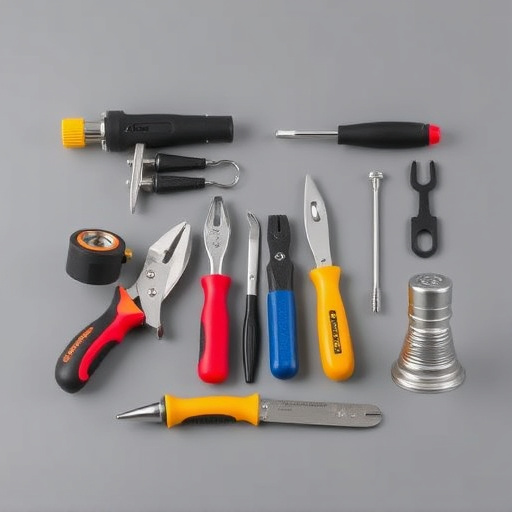
When it comes to repairing a Tesla front trunk, the minimalist approach is both practical and efficient, requiring only a few essential tools. For this process, you’ll need basic hand tools like a set of screwdrivers (both flathead and Phillips), a wrench for securing any nuts or bolts, and possibly a thin piece of plastic or a rubber mallet for gentle nudging during the repair. The simplicity of these tools allows for precise work without causing further damage to your Tesla’s car bodywork.
The minimalist toolset is ideal as it keeps the repair process straightforward, minimizing the risk of scratching or marring the vehicle’s surface. Moreover, having fewer tools makes it easier to manage and ensures that you’re not spending time searching for specific instruments during the repair. For minor issues like dents or scratches in the front trunk area, this limited toolkit is all you need for effective car collision repair, enabling you to get back on the road swiftly.
Step-by-Step Guide: Fixing Your Tesla's Front Trunk

Step-by-Step Guide: Fixing Your Tesla’s Front Trunk
The front trunk of a Tesla is a vital component that requires minimal effort to repair, especially if you have the right tools at hand. Start by ensuring your safety and preparing your workspace. Park the vehicle on a level surface and engage the parking brake. Gather your tools, which include a set of basic sockets, ratchets, and a torque wrench (essential for precise tightening). Locate the front trunk latch mechanism, typically found near the vehicle’s front end. Next, carefully remove any debris or objects blocking access to the latch.
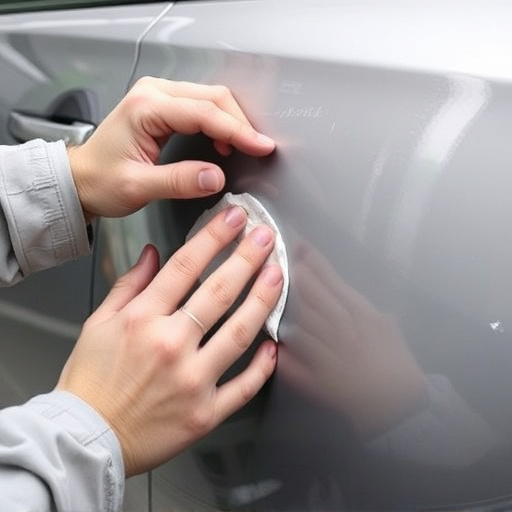
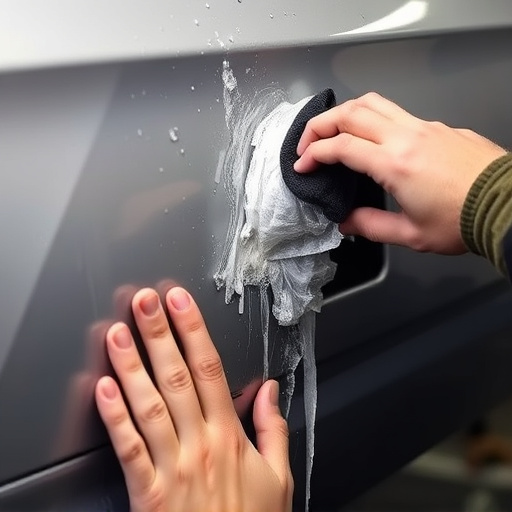
Using your tools, slowly disengage the old latch mechanism by loosening the necessary bolts. Once this is done, gently pull the front trunk away from the car body. Inspect the damaged area for any signs of wear or corrosion and clean the surface thoroughly. After cleaning, install the new latch mechanism according to the manufacturer’s instructions. Ensure all parts fit securely before tightening the bolts with your torque wrench to the recommended specification. Complete the process by reattaching any removed components and verifying proper functionality through a test run. For those who prefer not to tackle this task themselves, remember that regular maintenance checks and repairs, including Tesla front trunk repair, are best left to a trusted car body shop for expert car body restoration.
Repairing your Tesla’s front trunk doesn’t have to be a daunting task. With the right knowledge and minimal tools, you can efficiently address any damage. By following the step-by-step guide provided, you’ll gain confidence in tackling this process yourself, ensuring a secure and precise fix for your electric vehicle. Remember, maintaining your Tesla is an important aspect of ownership, and with these simple repairs, you’re well on your way to keeping it in top condition.